
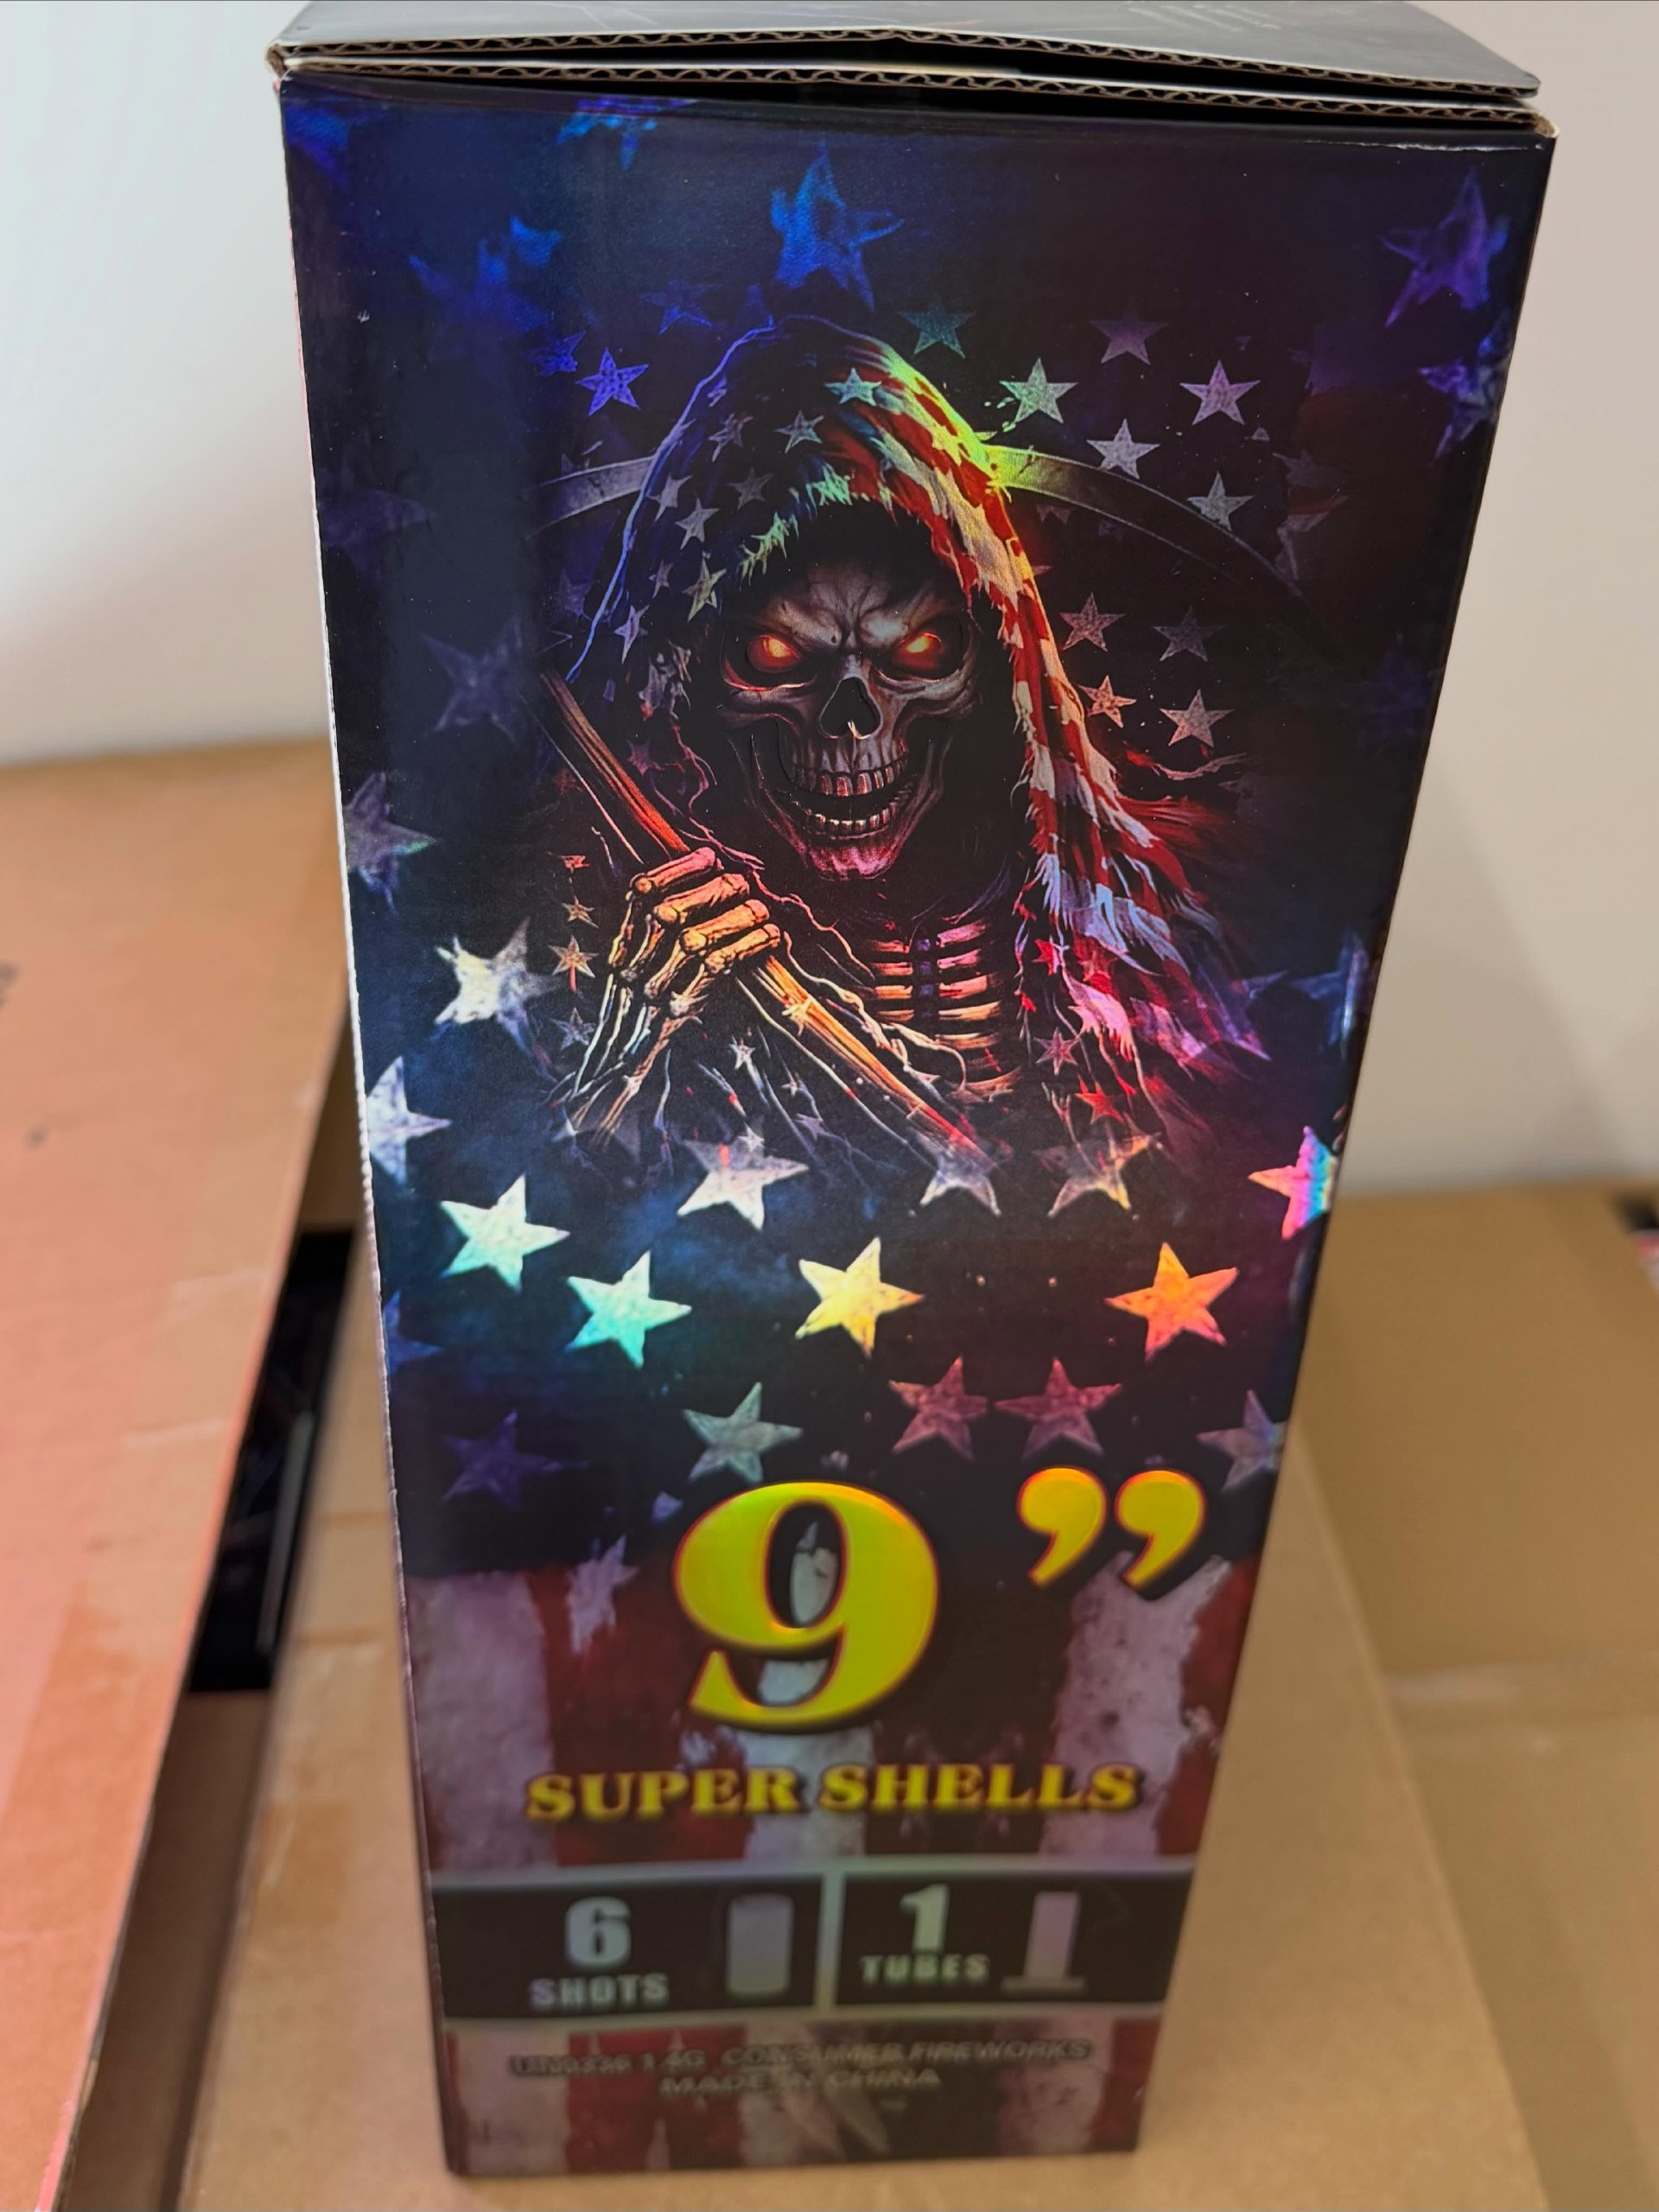
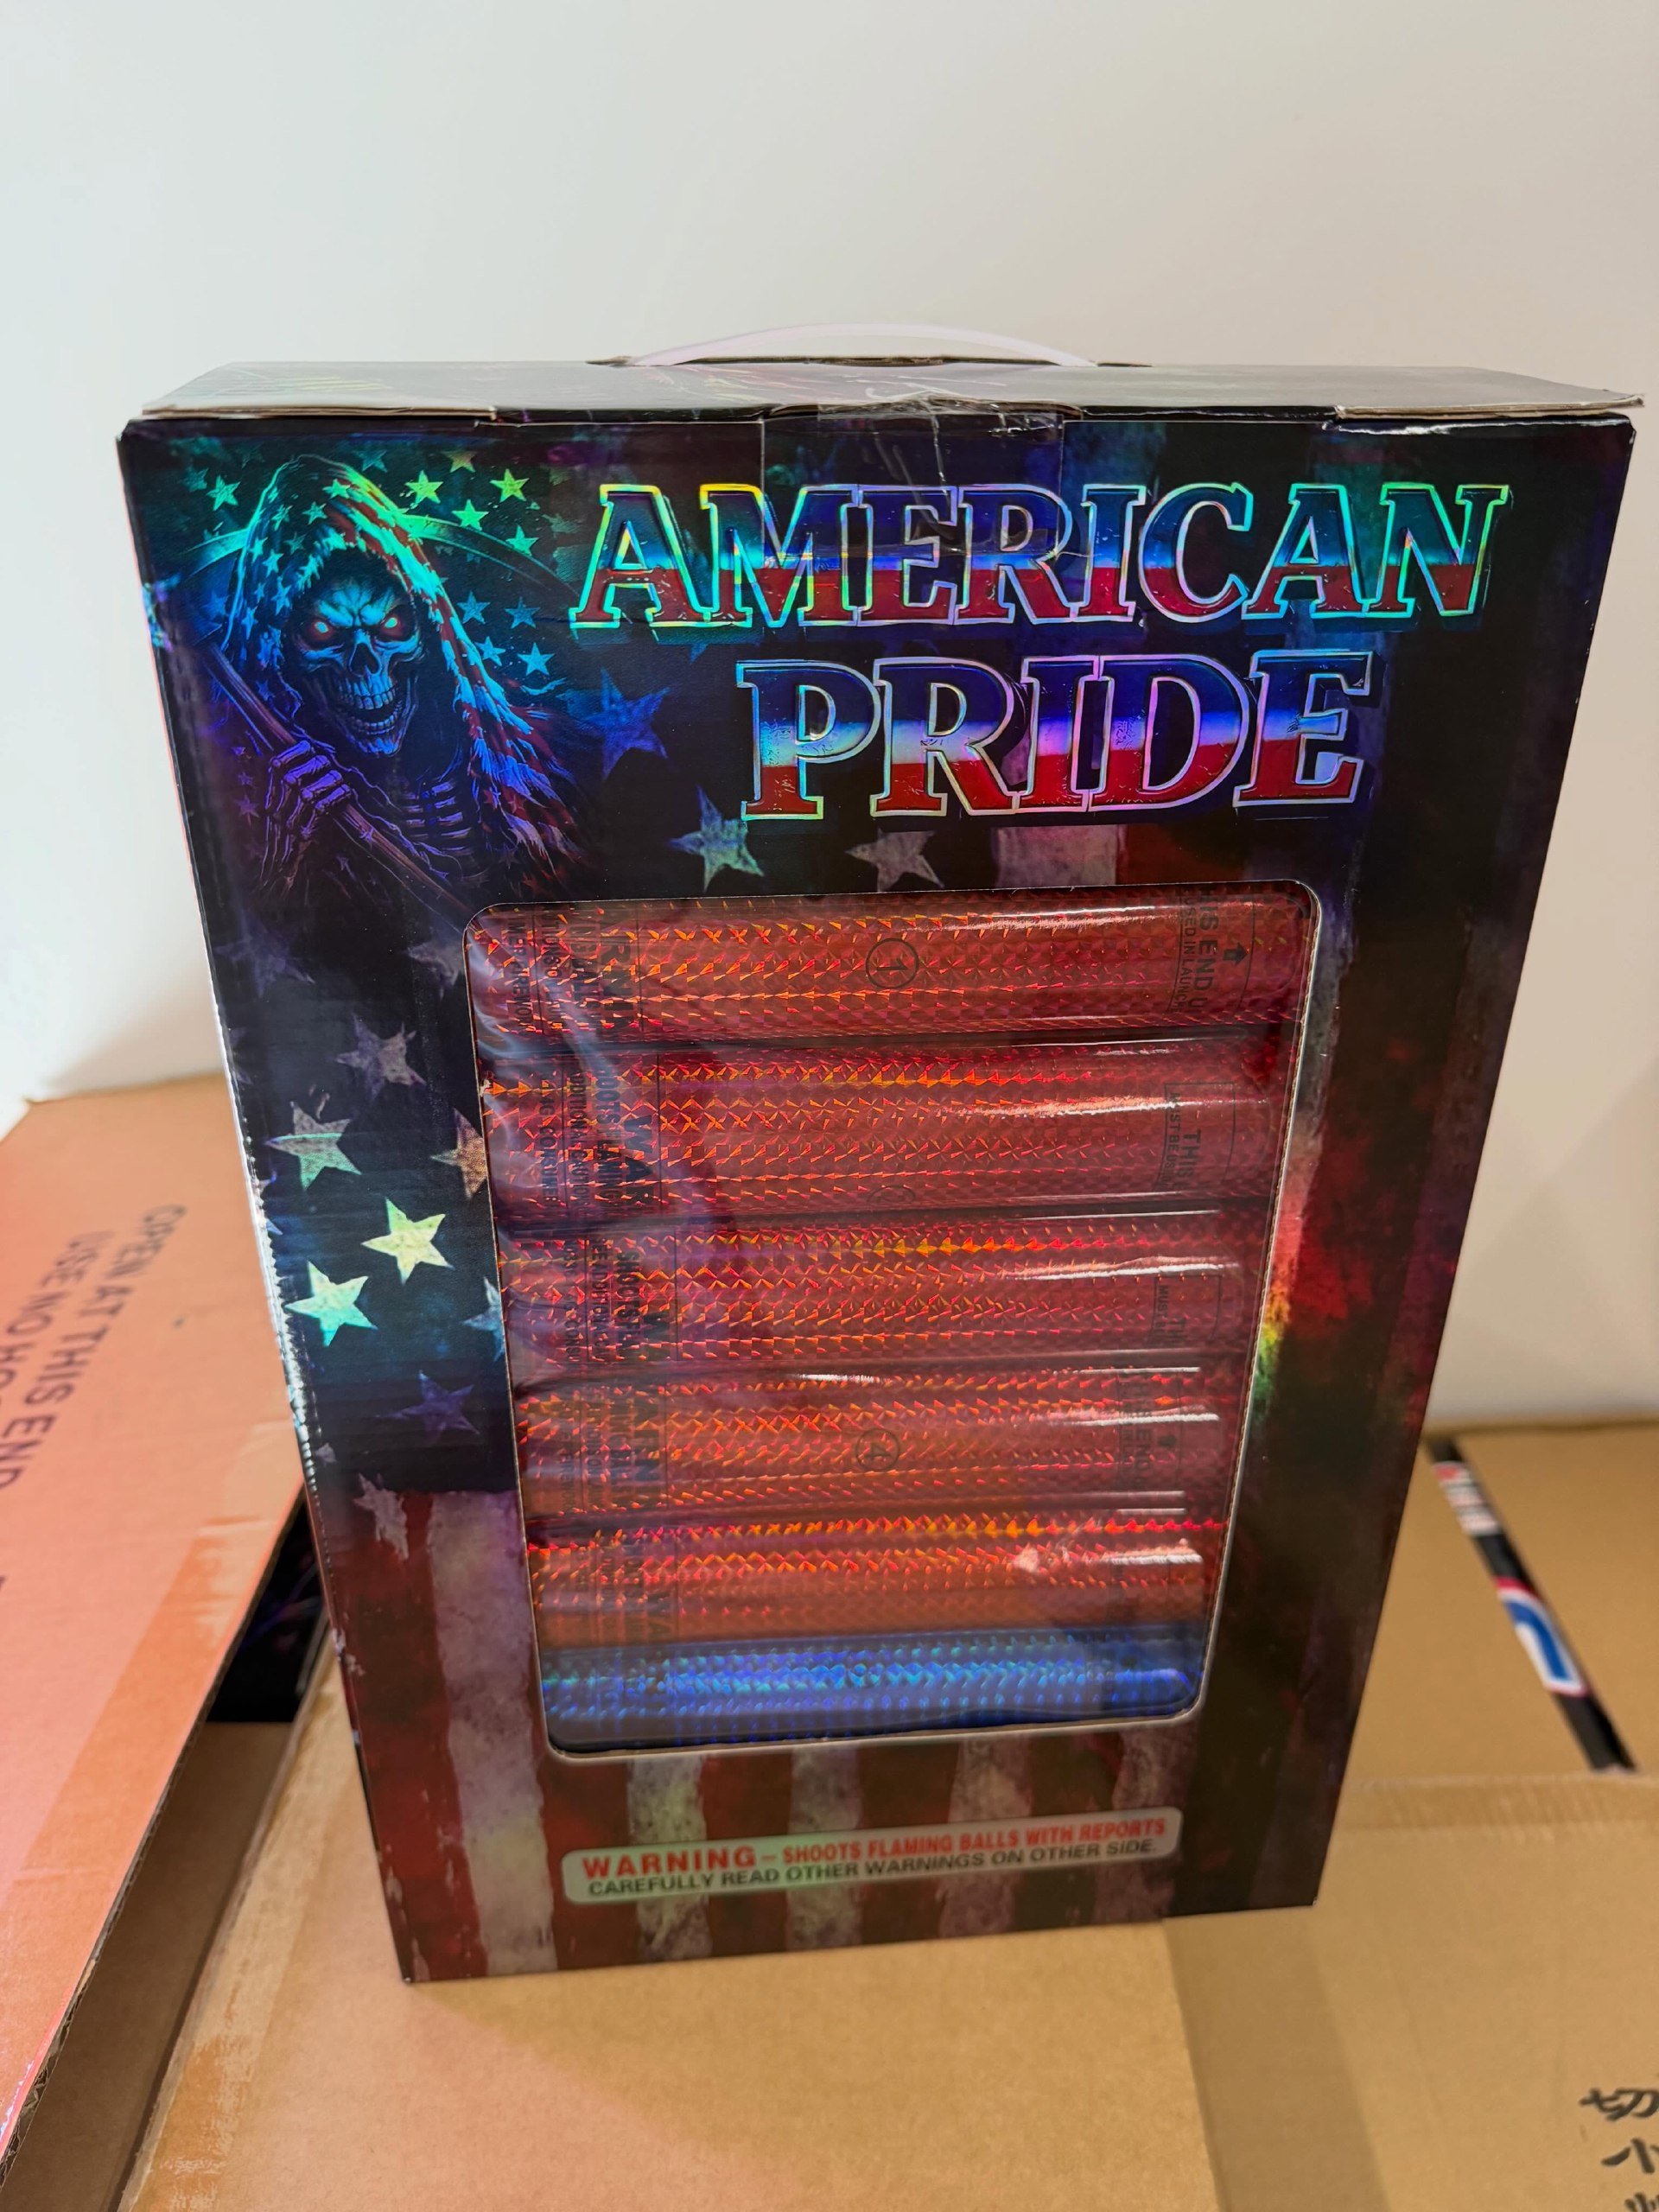
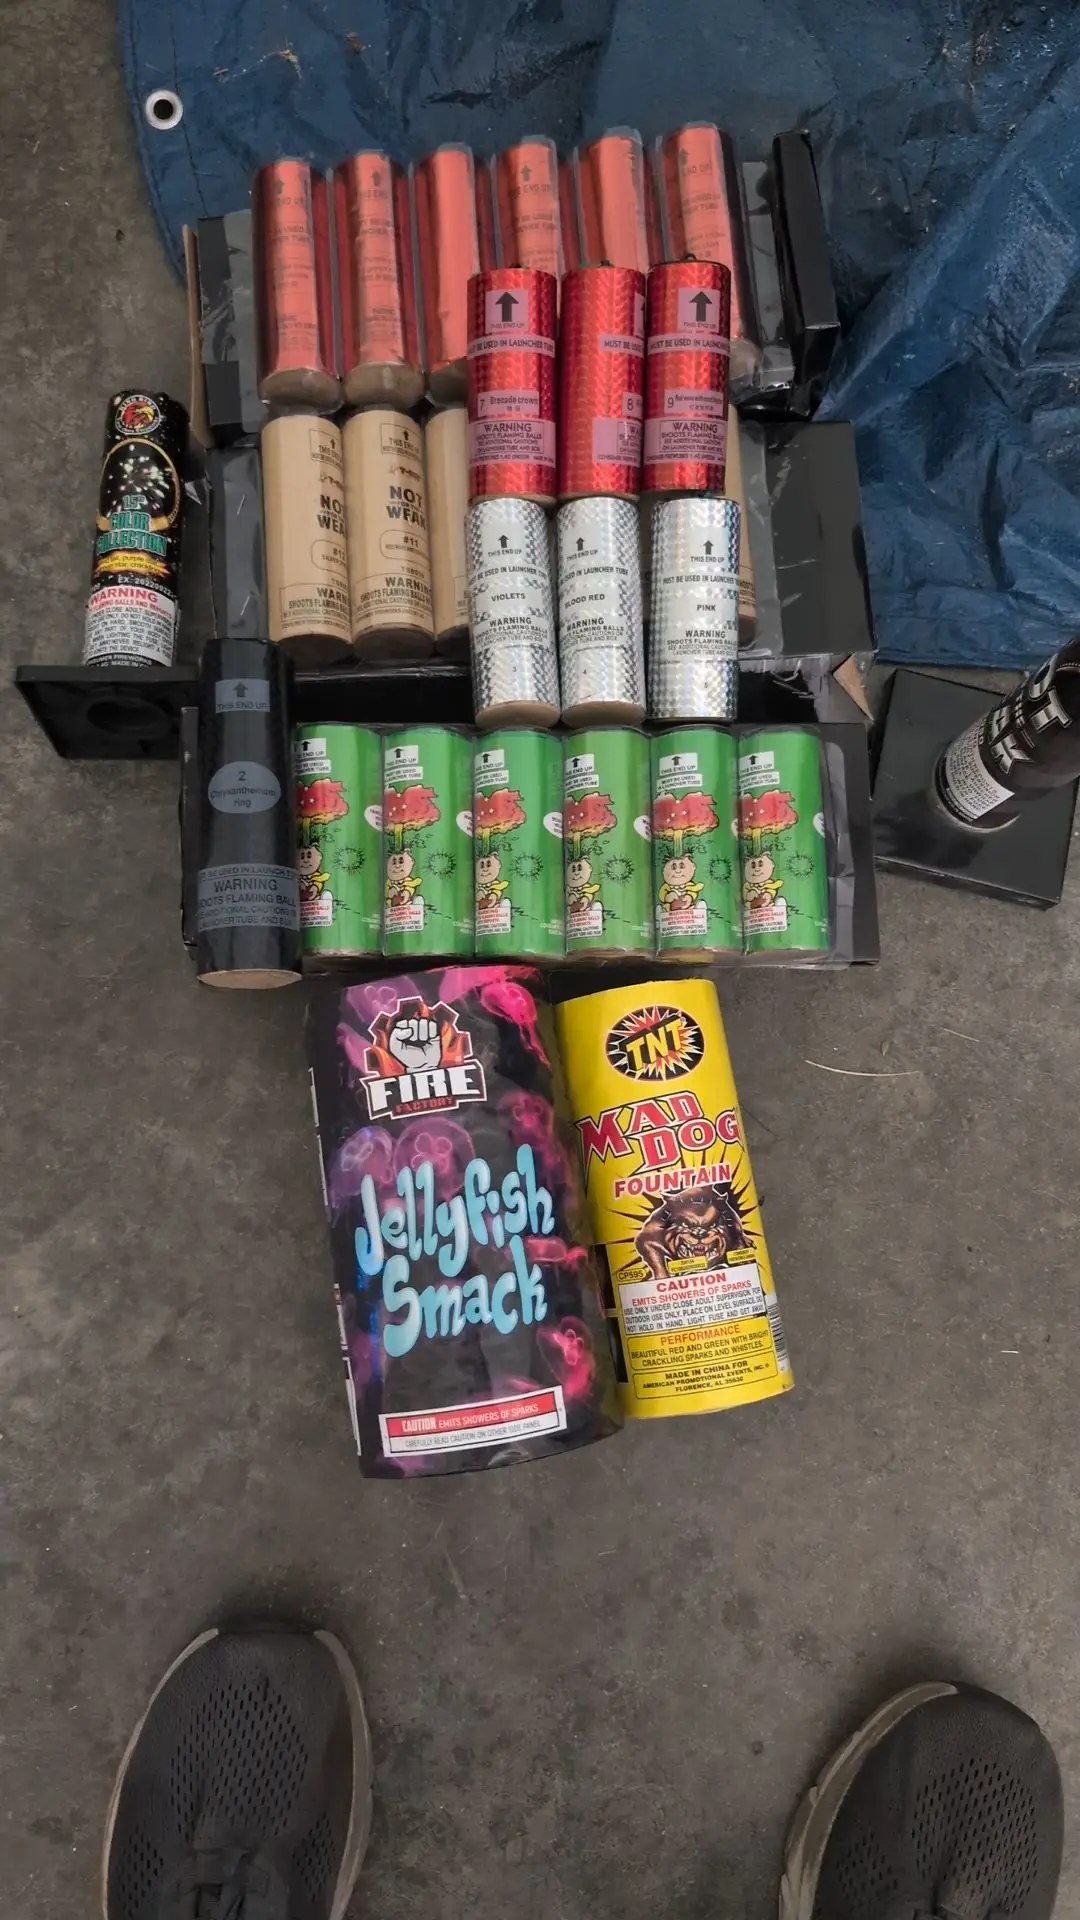

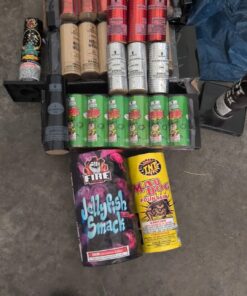

Few things at a backyard Fourth of July draw louder reactions than a clean, high break from a shell canisters. Even so, buying these products often comes down to guesswork. Box art always looks spectacular, product names reveal very little, and two kits at the same price can perform very differently once the fuse is lit.
This guide covers what actually separates a good kit of shell canister fireworks from a forgettable one. It explains how to judge shells after firing, how to spend your budget sensibly, and how to set up a firing line that keeps everyone’s fingers attached. It assumes you’re working with consumer-grade products and following local law, which varies widely by state and municipality. Check your local rules before you buy anything.
Understanding Reloadable Shells: Anatomy and Performance Of shell canisters
A reloadable shell is a two-stage firework you drop into a reusable mortar tube. When you light the fuse, a quick-burning leader ignites the lift charge at the base of the shell. That black powder charge launches the shell skyward. At the same time, a time fuse starts burning toward the break charge. If the timing is right, the shell bursts near its peak and scatters the stars, the small pellets of colored composition that make the visible effect.
In the US, consumer shells are limited by federal rules to a maximum outer diameter of 1.75 inches. Each shell can carry no more than 60 grams of pyrotechnic composition. Every brand works within those same limits, so differences in performance come from construction quality rather than size.
The main components to know:
- Lift charge: determines height. Too little and the shell breaks low.
- Time fuse: controls when the burst happens relative to the apex.
- Break charge: spreads the stars. A weak break produces a lopsided, droopy effect.
- Stars: the payload, made from chemical compositions that produce color, glitter, crackle, or tails.
Once you understand those four parts, most performance problems become easy to diagnose.
How to Review and Compare Shell Canisters Quality
Reviews from other buyers help, but you’ll learn the most by watching your own shells closely. Film each break on your phone from the same spot, then replay it at slow speed. Comparing footage from two brands side by side shows differences you won’t catch in the moment.
Evaluating Burst Size and Symmetry
A good break opens into a round, even shape near the top of its flight. Look for stars spreading the same distance in every direction. A burst that’s flat on one side usually means the stars were loaded unevenly or the break charge was weak.
Break height matters too. If shells consistently burst on the way down, the time fuse is too long for the lift. That’s a construction flaw, not bad luck. A shell that bursts while still climbing has the opposite problem. Neither looks as good as a break right at the apex, where the effect hangs before it falls.
Analyzing Color Purity and Duration
Cheap color looks washed out. Reds turn pinkish, greens drift toward yellow, and blues are often the weakest because good blue composition is hard to make. Pay special attention to blue when you compare brands, because it shows quality quickly.
Then time the effect. Count how long the stars burn before they fade. Short-burning stars disappear almost immediately. Better shells hold color long enough for the audience to register it, and glitter or willow effects should hang noticeably longer. Also look for “dud” stars that never ignite. A few gaps in a burst point to inconsistent priming.
Choosing the Right Canister Kit for Your Budget
Price per shell is a better comparison than box price. A kit with 24 shells at a low price can cost more per good break than a 12-shell kit if half its shells break low. Divide the price by the shell count, then factor in your own quality observations from previous years.
A few rules of thumb help:
- Under a tight budget: buy one well-reviewed mid-range kit instead of two bargain kits. Fewer strong breaks look better than many weak ones.
- Mid-range spending: mix a general kit of peonies and chrysanthemums with a specialty kit, such as crackling or willow, for variety.
- Larger budgets: get your finale shells from a separate premium kit and save them for last.
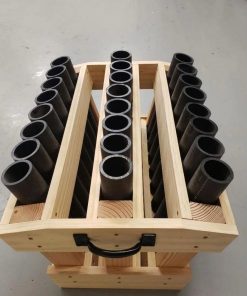
Check whether tubes are included. Many kits come with one or two cardboard or plastic tubes. Those are fine for casual use, but a separate set of quality HDPE or fiberglass tubes allows faster reloading and holds up better over time.
Also watch for shell counts padded with duplicates. Variety matters more than count if you want to keep a crowd interested for twenty minutes.
The Difference Between Ball Shells and 6-Inch Canisters
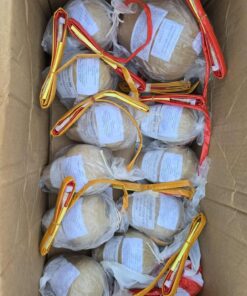
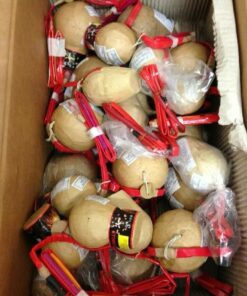
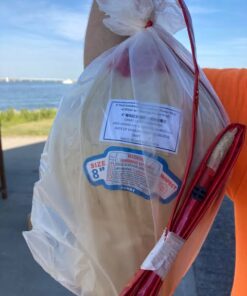
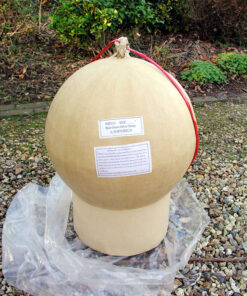
This distinction causes a lot of confusion in store aisles. Ball shells are spherical, mimicking professional round shells. Their round construction tends to produce symmetrical, globe-shaped breaks, which is why many enthusiasts prefer them for classic peony and chrysanthemum effects.
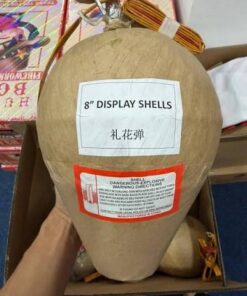
Canister shells are cylindrical. The “6-inch” label in consumer marketing usually refers to the shell’s length or overall height with the lift section, not its diameter. Remember, legal consumer shells still top out at 1.75 inches across. A longer canister body leaves more room for the lift charge and break composition, so canisters often fly higher and break harder, though their bursts can sometimes look less perfectly round than a well-made ball shell.
How they compare:
| Feature | Ball Shells | Canister Shells |
|---|---|---|
| Burst shape | Typically very round | Strong, sometimes less even |
| Height | Moderate to good | Often higher |
| Effects | Classic peonies, rings | Heavy breaks, multi-effect loads |
| Feel | Traditional | Louder, more powerful |
Neither is objectively better. Many people combine both in one show for variety, using ball shells for color and canisters for impact.
Best Practices for Safe Setup and Firing
Most reloadable injuries happen in seconds. Someone leans over a tube, a shell is loaded upside down, or a mortar tips over and fires sideways. Set up the firing area before dark, when you can still see clearly.
Choose a hard, flat surface with clear space overhead and wide clearance from spectators. Follow the distance printed on the packaging, and add extra room. Mount your tubes in a rack or bury them partially in soil or sand so they can’t tip. Keep a bucket of water and a hose nearby, and assign one sober person as the shooter.
Inspecting Mortar Tubes for Damage
Check every tube before each use. Look inside with a flashlight for cracks, bulges, burn-through, or debris. Cardboard tubes that have been rained on or show fraying near the base should be thrown out. Plastic tubes with heat warping are compromised.
Never use PVC pipe or metal as a mortar. PVC can shatter into sharp fragments, and metal turns a failure into shrapnel. Use only HDPE, fiberglass, or the tubes provided with the kit.
Proper Loading and Clearing Techniques of shell canisters
Load with care and stay low:
- Drop the shell in fuse side up, with the lift end down. Never force it.
- Keep your face, hands, and torso clear of the tube opening at all times.
- Light the fuse at arm’s length and immediately move away.
- After firing, wait several seconds before approaching. Some shells have a delayed ignition.
- If a shell doesn’t fire, wait at least 20 minutes, then soak it in water. Never look into the tube or try to relight it.
Stick to one shell, one tube, one firing at a time.
Advanced Display Strategies Of shell canisters and Final Tips
When your setup is safe and reliable, the fun part is pacing. The biggest mistake people make is firing everything at the same rhythm. Crowds stop noticing a steady pattern of one break every 30 seconds. Shows feel more polished when they have shape.
Try this structure for a 20-minute show:
- Opening: two or three bright, colorful ball shells to get attention.
- Middle: alternate effect types, such as a crackle after a willow or a strobe after a peony, so no two consecutive breaks look alike.
- Build: shorten the gap between shots over the final few minutes.
- Finale: fire your strongest canisters quickly from a pre-loaded rack. Keep the shells in separate tubes and fire them in sequence.
Using multiple tubes makes a big difference. With four to six tubes in a sturdy rack, a helper can reload while you fire, keeping the pace even. Record your show from a fixed position each year. Over time, that footage becomes the best buying guide you’ll have, because it shows which brands consistently impress.
Good reloadable shell displays come from three habits: judge shells by what they do in the sky, spend for quality over quantity, and treat every tube and fuse with respect. Run a small test next weekend if local law allows it, take notes, and build your next show around the shells that earned a place in it.
| CANISTERS | 6 PIECES, 13 PIECES, 21 PIECES, 50 PIECES, A CASE |
|---|
Be the first to review “Shell Canisters”
Related products
FIREWORKS
FIREWORKS
FIREWORKS
FIREWORKS
FIREWORKS
FIRECRACKER
FIREWORKS
Reviews
There are no reviews yet.